| Bookmark Name | Actions |
|---|
Manage Roles
Use the feature to create and manage user roles of the application. Each user role comes with a set of user permissions. For a particular role, user permission governs the set of customer roles a user has access to and a set of system permissions which govern the various activities a user can perform on the Spotlight application. The users who do not have access to a customer role will be able to view only selected information about those customers which excludes the personally identifiable information of a customer. This will help to restrict user access to the customer. The CSR permissions can also be defined which outline what user can perform when they try to access customer account on behalf of a customer the user has access to. All services exposed to client are governed by a set of permissions identified as a subset of customer entitlements and user CSR permissions. The resulting permissions decide whether a user can access a particular service or not.
This feature is applicable only to the Super Administrator.
Menu path: Employee Management > Roles
The app displays the list of user roles. You can do the following:
- View the list of roles
- Add a role - assign permissions and add users
- View details of a role
- Edit role details
- Search for a role
- Change the role status (activate or deactivate)
The following roles are available by default in Spotlight. However, new roles can be created as per the requirement.
|
Role |
Description |
|---|---|
|
Super Admin |
This user has all the permissions available in the system. |
|
Front Line Staff |
This role has minimal permissions that help the users perform the dedicated tasks in Spotlight. Branch members who want to support members with Online and Mobile banking app can also be associated with this role |
|
Operations |
This role can manage the various services, operations and entitlements provided by the bank/CU |
|
Manager |
This role is similar to a front line staff admin but with more privileges to control what kind of information can be updated by a front line staff. |
|
Business |
This role is for business users who want to view Spotlight capabilities, review data but not make major changes. These users can also send messages to customers and view/update their details |
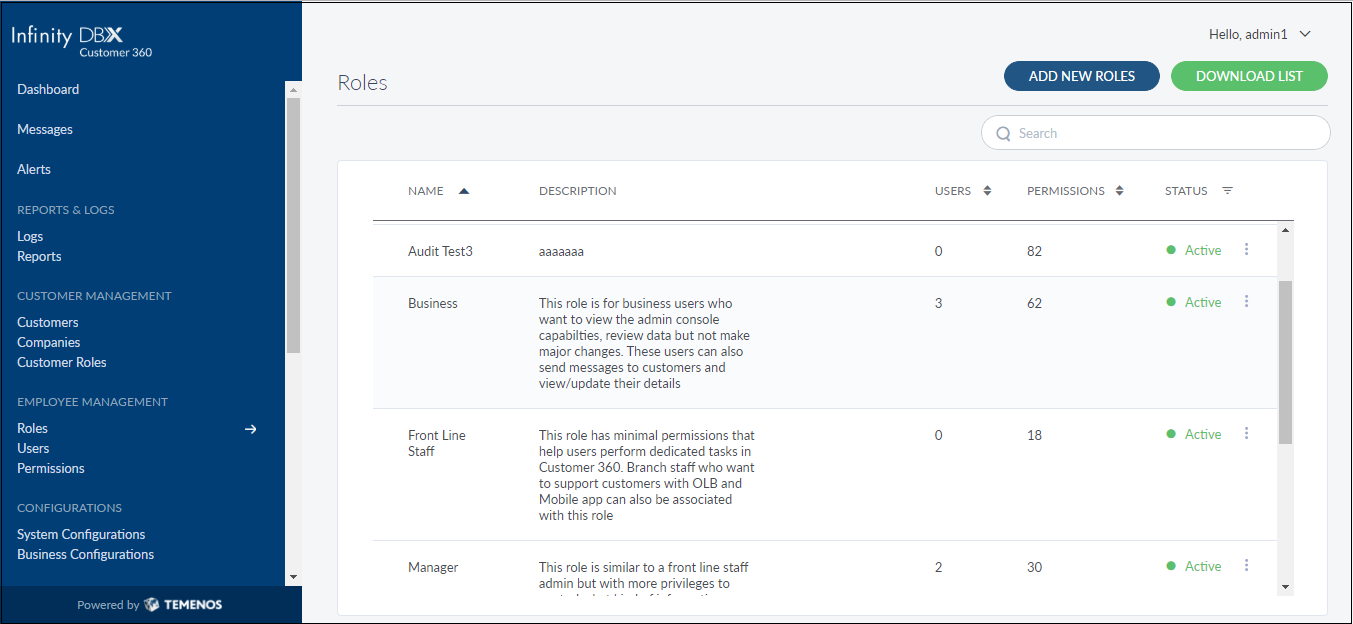
View Roles List
The app displays the list of roles already created in the application.
Menu path: Employee Management > Roles
The roles list is represented as rows with the following details: name, description, number of users assigned to the role, number of permissions associated with the role, and status.
You can sort the list based on Name and Users using the sort  icon (
 denotes sorted by that column).
Pagination is available and you navigate to any required page by choosing from the list. You can also choose the number of records that should be displayed on a page (for example, 10, 50, or 100).
You can do the following:
-
Click Add New Roles to add a role.
-
Click a record to view the role details.
-
Click Download List to download the list of existing users as an excel file.
-
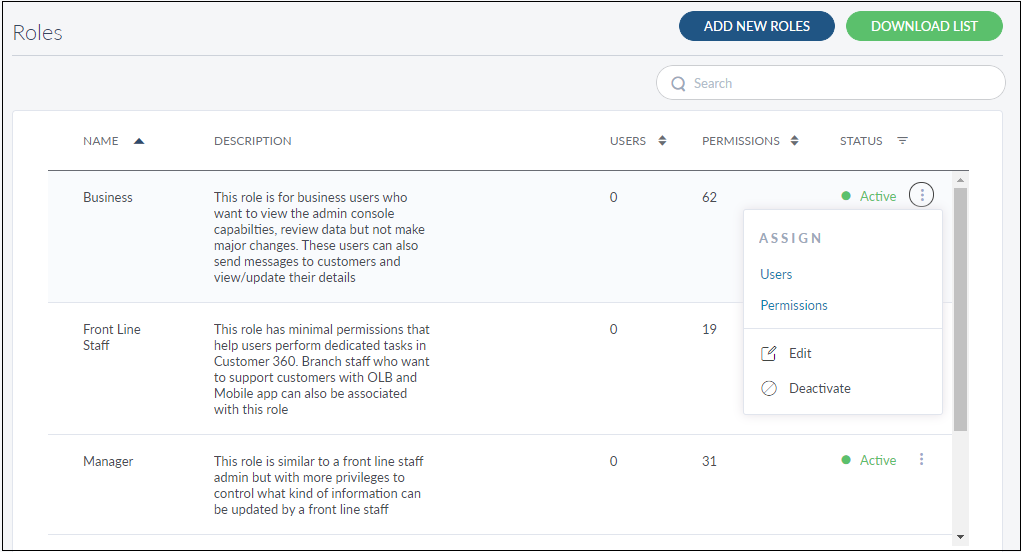
Click the contextual menu available on each row to open and do the following. Click again to close the menu:
-
Assign permissions and assign active users to the role.
-
Update the role status based on the current status.
-
-
Search for a role using the search option and search criteria.
Add a Role
Use the feature to add a role, and associate permissions and assign to users.
Menu path: Employee Management > Roles > Add New Roles
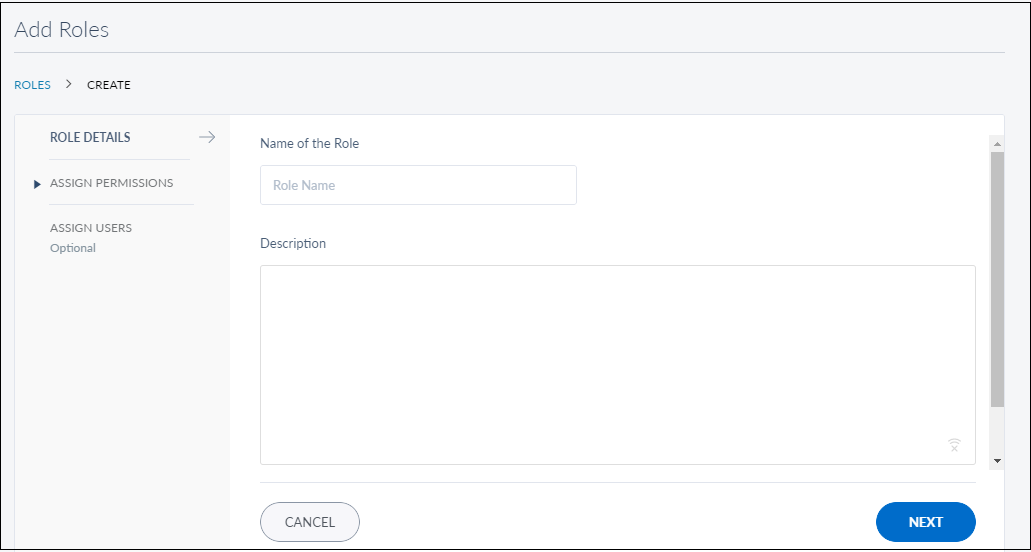
The Create Role screen comprises three tabs to capture the required information - Role Details, Assign Permissions, and Assign Users.
Step-1: Role Details
Add the following details:
-
Name of the role. It is mandatory.
-
Role description
-
Activate or Deactivate. By default, the toggle is set to active.
-
You can proceed to associate permissions with the role by using the Next button or the Assign Permissions tab (this step is optional), or save the role details directly. The role is added to the list of roles.
NOTE: You can cancel the process at any time. The changes are not saved.
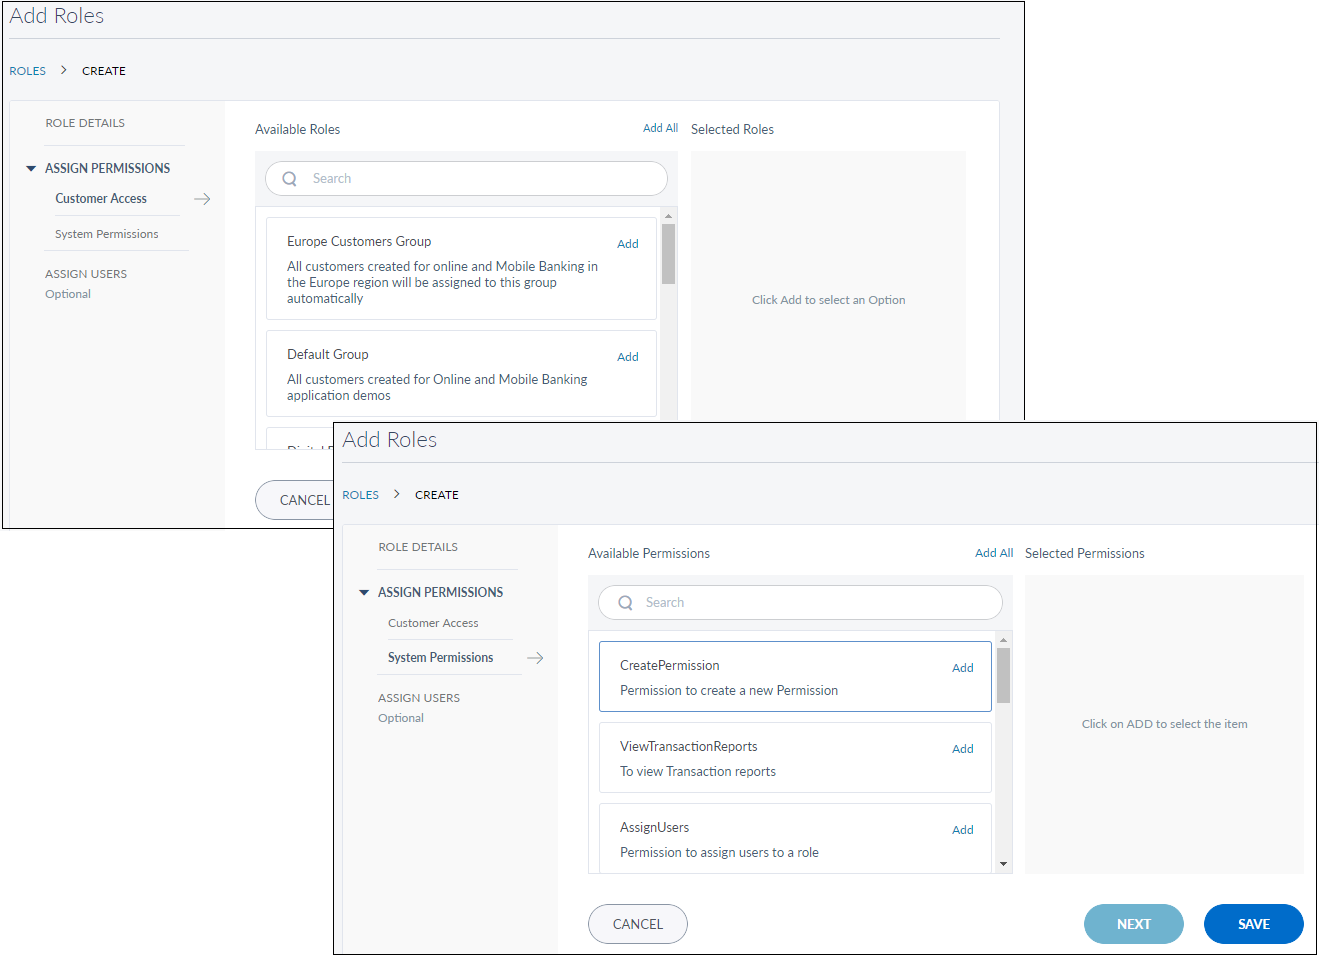
Step-2: Assign Permissions
The application displays the list of available permissions that you can add to the role.
-
From the list of available customer roles, select a role by clicking the Add button.
-
The customer role is added to the selected role list.
-
You can remove
 the role that you assigned from the selected roles list.
 - Once you add the roles, click Next to add the available permissions.
- Select the required permissions for the roles by clicking the Add button. Click Next
-
You can proceed to assign users to the role by using the Next button or the Assign Users tab (this step is optional) or save the details directly. The role is added to the list of roles.
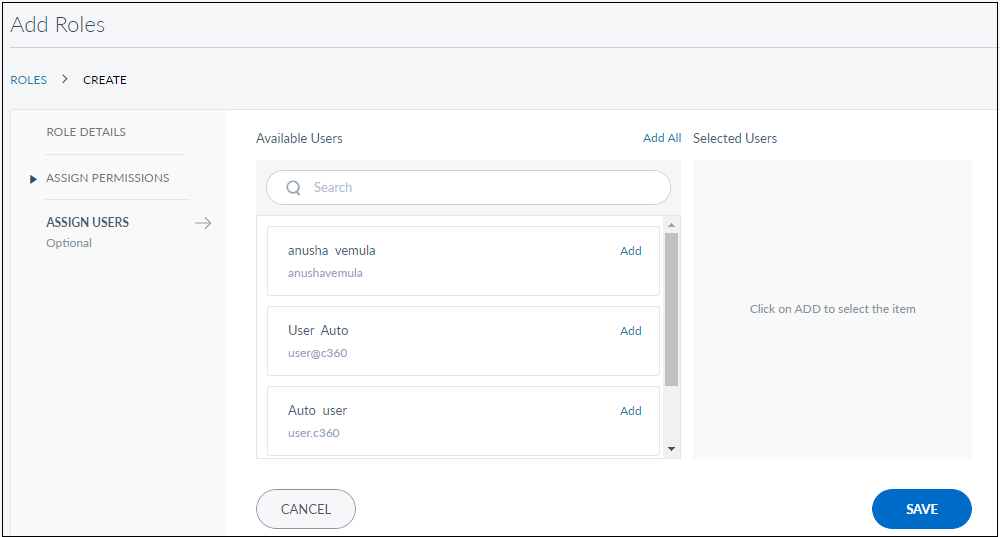
Step-3: Assign Users
This step is optional. The app displays the list of active users that you can assign to the role. In the current version, a user can have only one role.
-
From the list of users, select the required users. Use the search option to search for a particular user.
-
The user is added to the selected users list along with the users already assigned to the selected role.
-
You can remove
the user that you assigned from the selected users list to select another user from the available users list. -
Save the details. The role is added to the list of roles.
An email notification is sent to the user about the changes.
NOTE: Infinity uses Quantum Engagement Services to send the emails. The SMTP configuration is done via the Quantum Engagement Services console. You can provide the details of the Engagement Server to be used to Infinity as Configurable Parameters in App-Services console.
View Role Details
Use the feature to view the details of the selected role and edit the details if required.
Menu path: Employee Management > Roles > Click a row
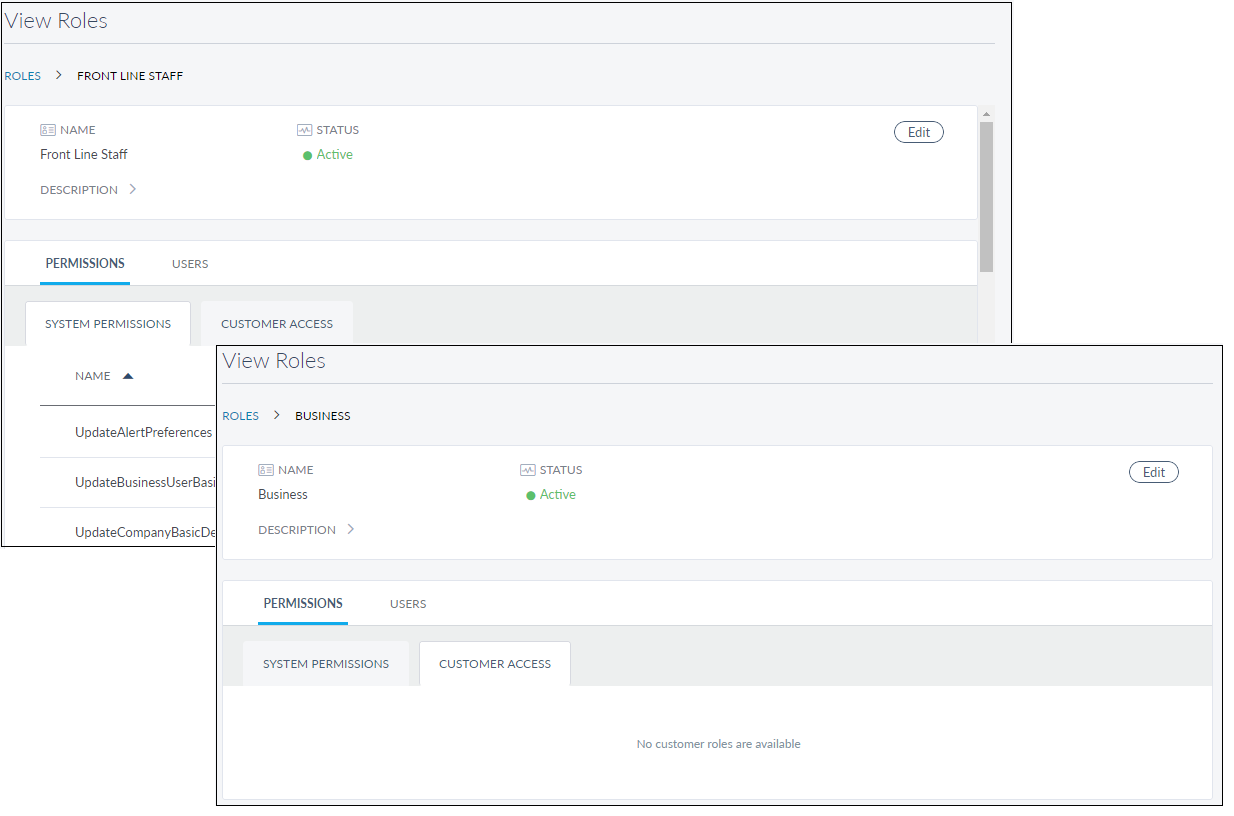
The app displays the following details on the View Role screen:
-
Role name
-
Status: It can be active or inactive
-
Role description
-
Permissions associated system and customer access. (System permission such as assign permission to add customers to a group, update password and such).
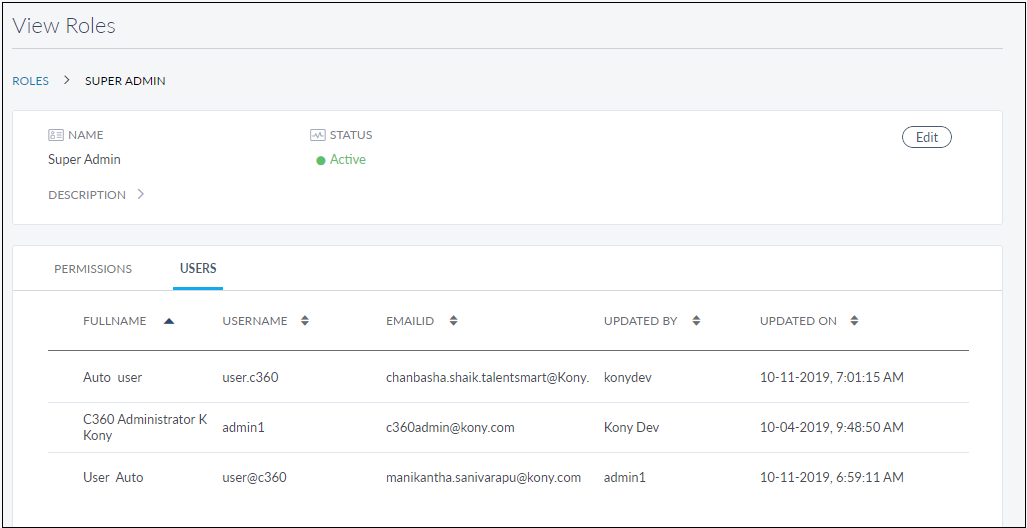
-
Users assigned to the role on the Users tab with full name, user name, email ID, updated by, and updated on date and time. Sort the details by the column name using the sort
icon ( denotes sorted by that column).
Edit Role Details
Use the feature to edit the details of the selected role.
Menu path: Employee Management > Roles > View Role screen > Edit
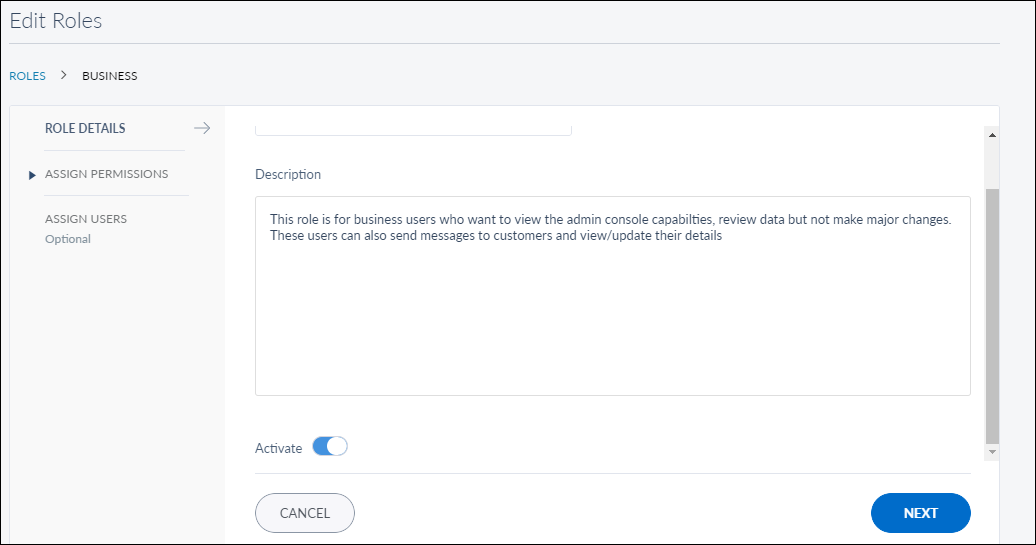
The edit screen is similar to the add a role screen with the provision to modify the details. Make the changes as required:
-
Name of the Role
-
Description
-
Activate or Deactivate
-
Assign Permissions
- Customer Access
- System Permissions
-
Assign users
Make the required changes on the Role Details, Assign Permissions, and Assign Users tabs, and save the details. An email notification is sent to the user about the changes.
NOTE: You can cancel the process at any time. The changes are not saved.
Search for a Role
Use the search option to search for a particular role using search criteria and download the list of matching records as an excel file, if required.
Menu path: Employee Management > Roles > Search
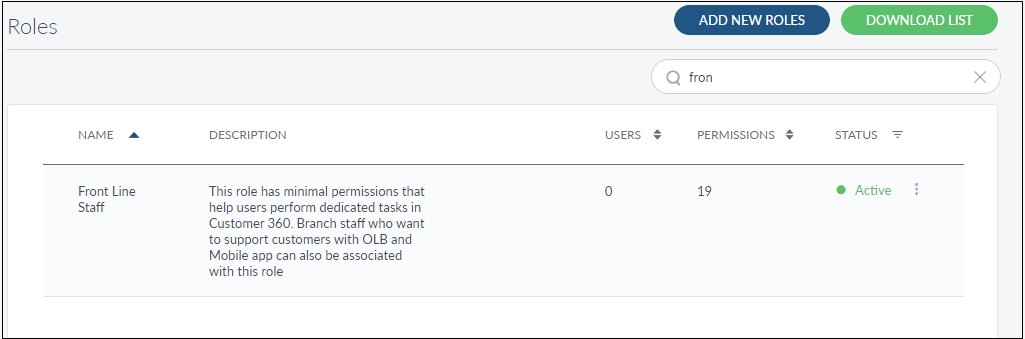
Enter the search keyword (role name) in full or in part (three or more characters). The app displays the matching records automatically.
You can sort the list by Name, Users, or Status.
Click Download List to download the list of roles matching the search criteria as an excel file, if required.
Update Role Status
Use the feature to update the role status.
Menu path: Employee Management > Roles > Contextual menu
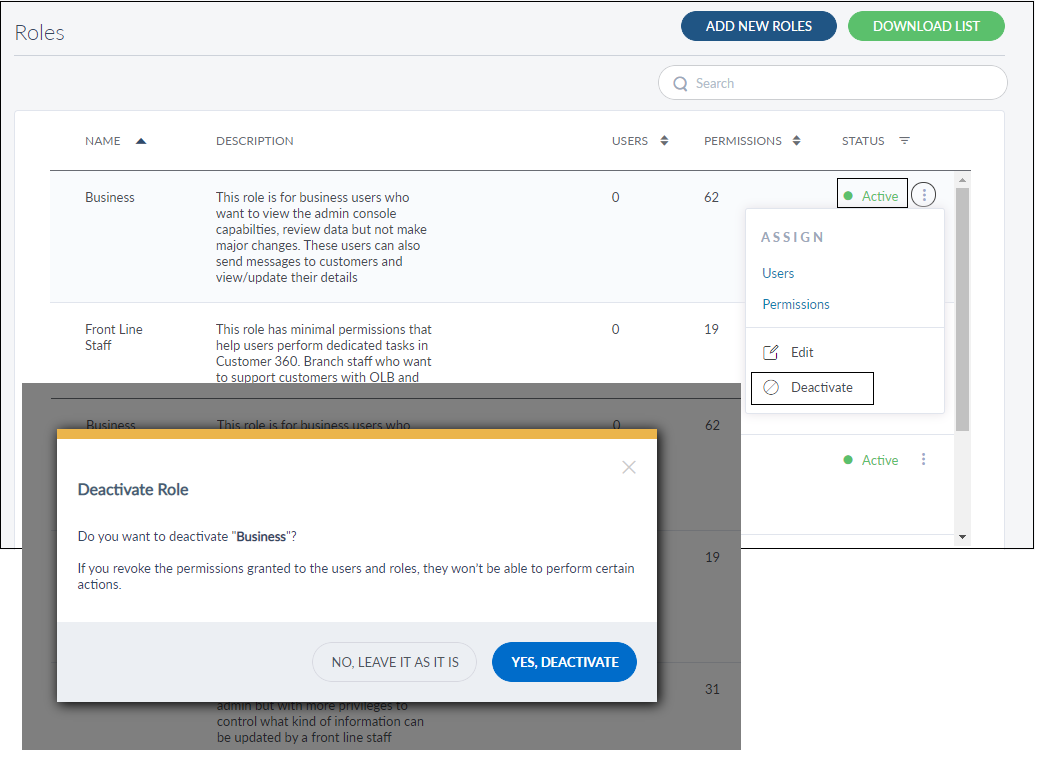
Click the contextual menu available on each row and update the status based on the current status of the role. The following statuses are available: Activate and Deactivate. For example, if the current status of a role is Active, you can Deactivate the role.
On the confirmation screen, confirm the action. The status of the role is updated as required.
Add Bookmark
save your best linksView Bookmarks
Visit your best links BACK
BACK


Are you sure you want to log-off?